[ad_1]
The blog of cooking-ez.com
When you have to knead dough for bread or some other recipe, you may well use a food processor or the type of machine known as a stand mixer. The best-known brands are Kenwood and KitchenAid. They are useful tools, but here are a few tips to help you get the best out of them.
Let’s start with an observation: these mini-kneaders can handle all sorts of baking and preparation, and are no less effective, when it comes to making bread or viennoiseries, for working a dough using the dough hook.
In practice, if we simply tip all the ingredients into the bowl and start the machine going, of course it will knead, but not very efficiently: the dough will tend to wrap around the hook, risks overheating, etc., and the kneading time shown in the recipe may not be long enough as a result.
In short, it’s much better to avoid these issues, so here are 4 basic tips.
1. Ingredients in the right order
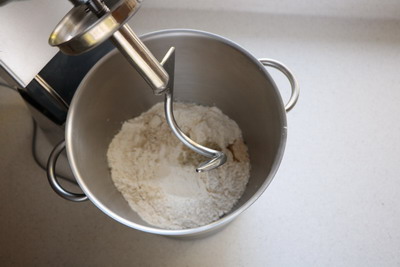
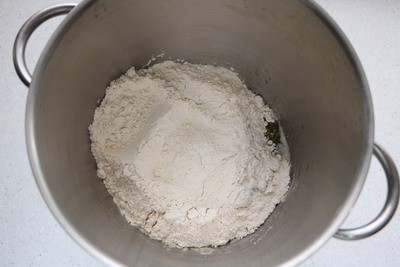
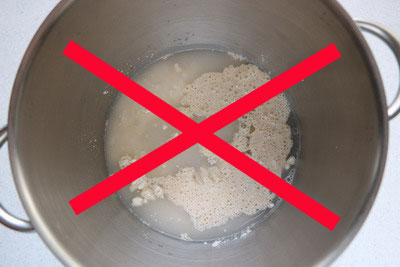
In all bread and pâtisserie recipes, we add all the ingredients to the bowl before starting to knead. Does the order in which they are added make any difference? Yes – we need to add the liquid first (water, milk, eggs, wine, etc.) and only then the flour and other dry ingredients. This helps the ingredients to start mixing straight away and makes the subsequent kneading more efficient.
Note: This tips is also for home bread machines.
2. Slow speed
Whatever brand of mixer you have, it is worth knowing that they always run too fast for effective bakery-style kneading. So we need to start on the slowest speed every time. It might not be perfect, but this comes fairly close to classic bakery kneading speed.

3. Scrape the bowl
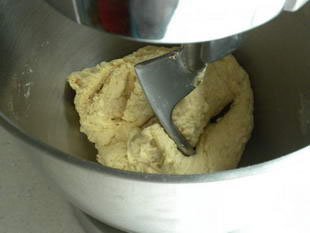
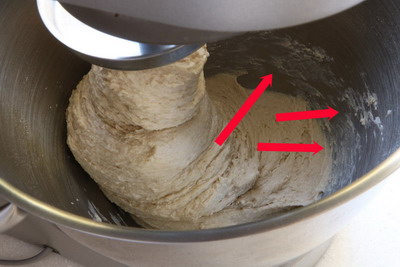
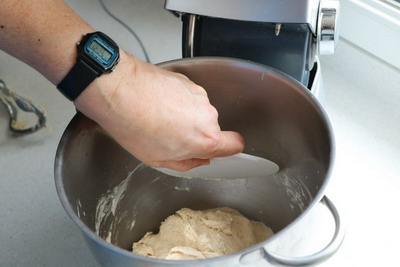
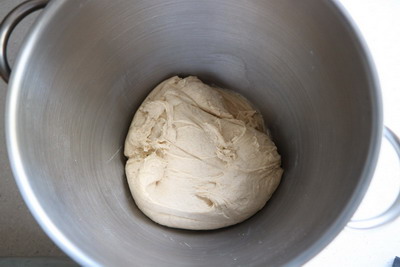
After kneading for a few minutes, the mixture will begin to build the dough structure and form into a ball, which the hook will then turn and knead. But there will inevitably be some flour stuck around the sides of the bowl above the level of the mixed dough.
It is important to stop the mixer after the first 3 or 4 minutes of kneading and go round the sides with a flexible dough scraper to get any remaining flour into the dough, then carry on kneading.
If you don’t scrape the bowl, these bits will end up hardening. They may fall into the dough later, will not mix in properly and will leave unpleasant, hard lumps in the bread. Bonus: your bowl will be easier to wash up afterwards.
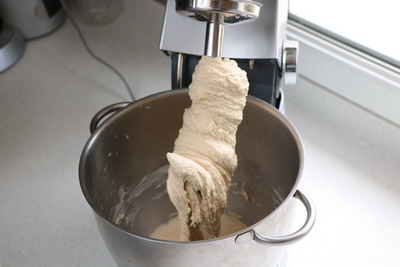
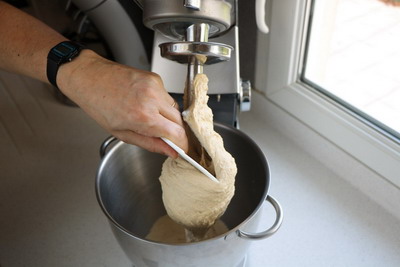
4. Stop the dough wrapping around the hookAfter a few minutes of kneading, and especially if the dough is on the firm side, you will see it wrap itself around the hook. Once it is stuck like this, it can no longer be kneaded properly. This is the main disadvantage of kitchen mixers compared with proper bakery kneading machines. The movement of the dough hook is fairly minimal, so it ends up gathering the dough around itself.
Unfortunately, there is no easy solution to this problem: we need to stop the mixer frequently and unwrap the dough from around the hook, then start kneading again.
To sum up
It is possible to get good results using a mixer to knead bread dough, but there are 4 key points to watch: the order of the ingredients (liquid in the bowl first), the kneading speed (the slower the better), keeping the bowl clean (scrape the sides after a few minutes) and, lastly, the tendency of the dough to wrap itself around the hook (free up the hook at regular intervals).
Last modified on: September 22th 2017
[ad_2]
Source link